Console Radio Collection
Here are the console radios I have collected so far. Table radios are nice, but my consoles are my pride and joy. I restore each receiver one at a time. To me a properly restored radio has had the following repairs/upgrades. All paper capacitors are to be replaced. All resistors must be replaced OR if they are in a difficult place to access, their tolerance is checked. Each original resistor must be within 20% +/- the original value, however I hold my restorations to a higher standard. Anything more than 10% +/- is out! Solder joints are all double and triple checked to be sure a good connection is made. Dropping resistors or bucking transformers have been added to each set to drop today's high line voltage (125V) down to a much cooler ~110V. Antique radio transformers, especially Zeniths, do not appreciate being plugged into a 125V outlet. Controls are cleaned and lubricated with DeOxit brand contact cleaner. I use compressed air to remove any unwanted solder blobs or particles of dust. Finally, a complete receiver alignment is done using a signal generator and VTVM. This procedure is done to be sure each radio receives the correct stations, at the correct places on the dial. Peaking the intermediate frequency, antenna, and oscillator coils are important to be sure the radio is running at it's peak performance. This is the general process I take when I restore a radio. Each set usually requires something a little different, but the process is still very similar. Now enough talk, onto the photos of my collection!

1938 Zenith 6-S-254. 6 tubes. Not a shutter dial, although it does sport the timeless teardrop shaped escutcheon. This Zenith was purchased for $55 in 2012 at the Kutztown Antique Radio show. It was the first console radio I have ever restored. The chassis is simple and wide open, so the restoration went smoothly. The finish was rough when I purchased it, but I have since wiped it down with Howards Restore a Finish followed by two coats of Minwax furniture polish.
|

Here is the rear side of the Zenith 6-S-254. Unlike the higher tube count models, this radio does not have the acoustic speaker adapter. The chassis cleaned up nicely. On each radio I restore, I strive to purchase coke bottle shaped glass tubes, simply because they look nicer than the opaque metal tubes. There is no noticeable performance difference between the two types of tubes.
|
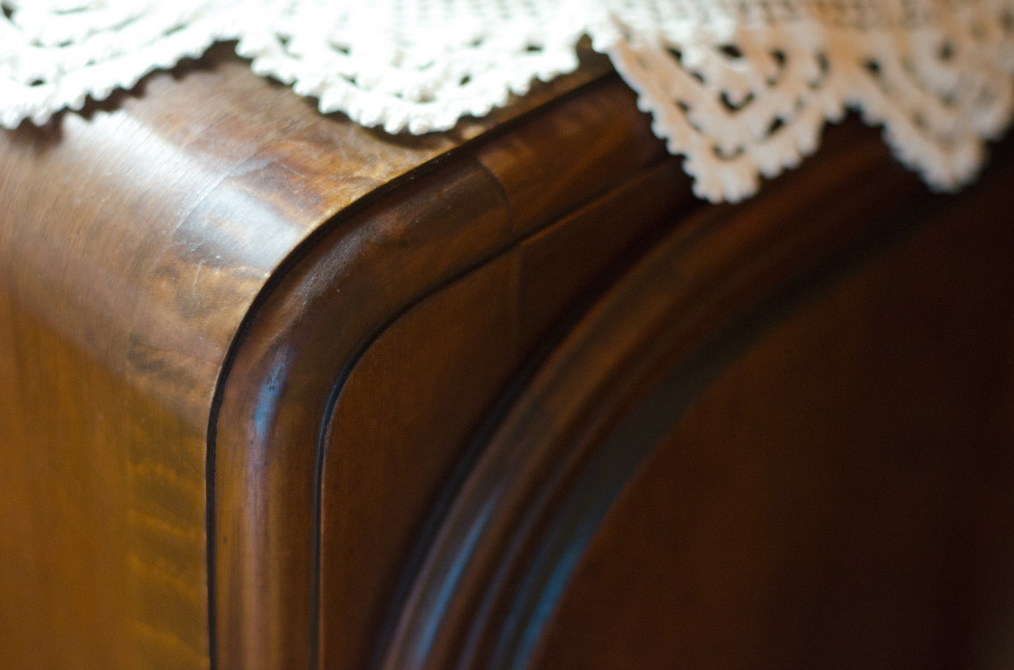
Here is a close up of the top corner of the Zenith. What also makes this model iconic, aside from the tear drop shaped dial, is the art deco style waterfall sides. Also notice the white doily on top of the radio. I find that these are the perfect touch to any console radio. They can be found for a great deal at most any thrift store. I picked up a bunch of these at the Salvation Army in Oneonta, NY.
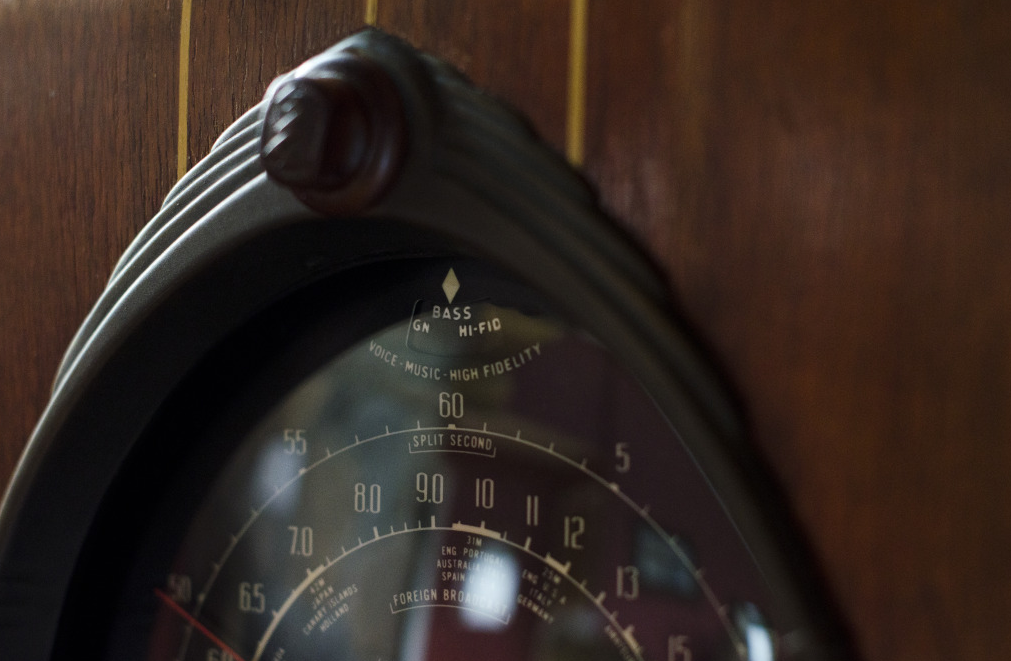
Here is a photo of the top half of the Zenith dial. Notice the tone control has a variety of tone settings, from foreign, to bass, to high-fidelity, normal, and voice!
|

1938 Zenith 12-S-265. 12 tubes. 6V6 PP output. Shutter dial. 12" speaker with acoustic beehive adapter. Original finish and grill cloth. This Zenith was also picked up from a friend in Kutztown for the whopping price of $400. I splurged on this one as it sports the classic Zenith Robot Dial, also known as the shutter dial. I have since restored this set to the best of my abilities. I treated it to nothing less than the best. This radio rattles the windows with it's 12 tube chassis design.
|

Fully restored electronics. Plays like the day it slid off the assembly line. Unlike the 6-S-254, this higher tube count Zenith has the acoustic speaker adapter. This is Zenith's signature idea. It's a simple design, but really makes a difference! It is essentially a mechanical tone control. Pull the beehive out for boomy bass, and push it in for less bass. The adapater is set only once, depending on the location of the radio in the room. I prefer it in the out position, as I'm a fan of that notorious Zenith bass.
|
Here is a close up of the bottom half of the shutter dial. The shutter dial consists of two moveable shutters and one stationary shutter. When the band switch lever is moved, a shutter moves along with it, exposing the shutter behind it. Each shutter is a different band. This is a three band radio. Broadcast, police, and shortwave. The police band would have been similar to todays police scanner radios, however that band is currently silent as police officers broadcast on different frequencies today.
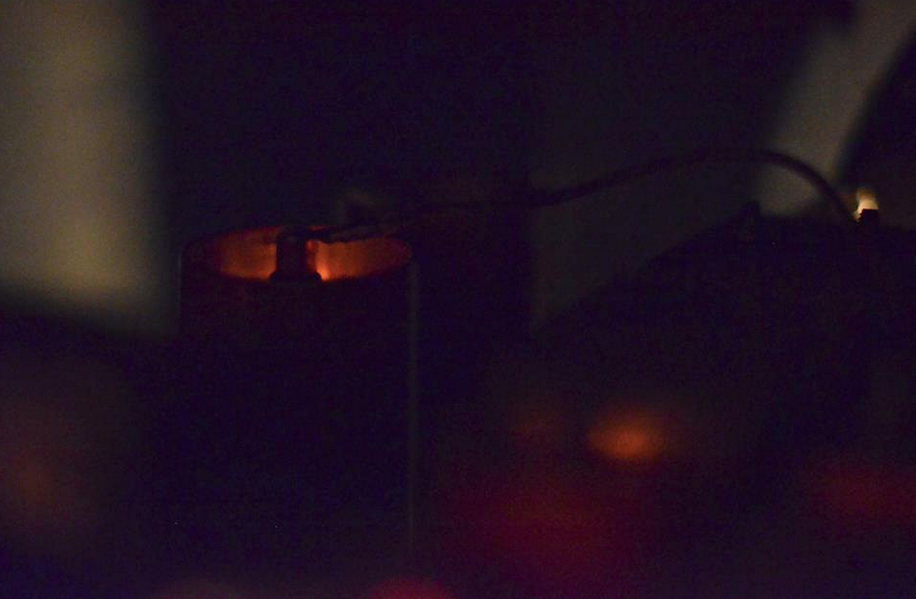
That warm, vacuum tube glow. I love a musical space heater!
|

1934 Atwater Kent 711. 11 tubes. 2A3 PP output. I generally stick to late 30s, early 40s radios, however this early 1930s Atwater Kent couldn't be passed up. I picked this set up at an antique store in Oneonta, NY for $220. At the time I was a very novice collector and consulted the experts on the Antique Radio Forum. It turned out that I got a great buy, and an even better radio. This radio is currently being restored. As of right now it has been my most difficult restoration. Atwater Kent used "high-tech" rubber wiring, as opposed to cloth, however the rubber wiring did not stand the test of time compared to cloth wire. To see more about this restoration visit the Current Restoration section of this site.

Here is a close up of the top detail. The finish is not perfect, but it is most certainly not in need of a refinishing. I will wipe this cabinet down with Howards Restore a Finish and it will be as good as new.
|

Fancy, delicate speaker grills are typical of 20s and mid 30s console radios. Grill cloth is tough to come by these days, thankfully this cloth is in fantastic condition.

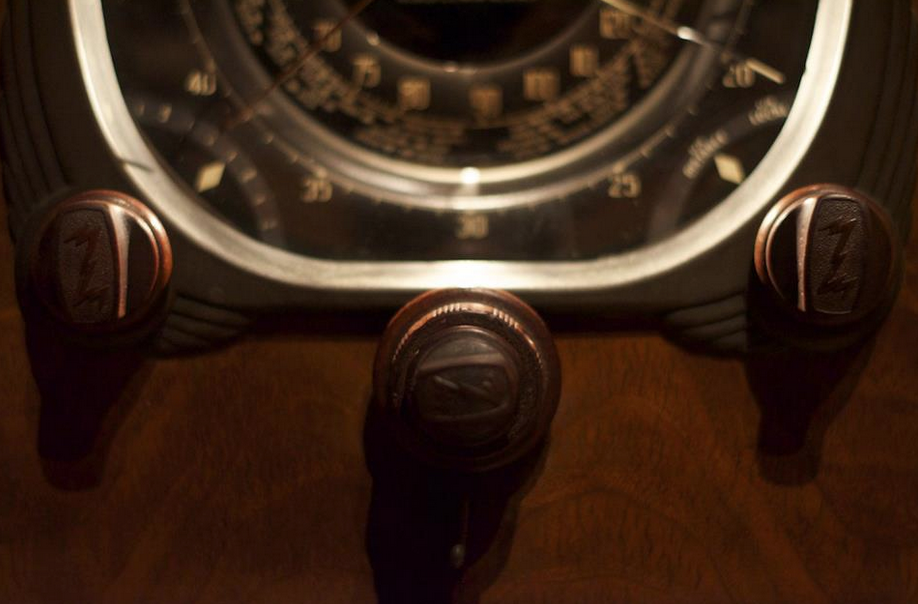
Small dial scales on larger consoles were typical of this era of radios. Below the dial scale is what's called a shadow graph, or shadow meter. All it is is a station strength indicator. The closer the two bars from each side of the meter get to each other, the stronger the station. More often than not, more knobs equates to a better radio, and that is certainly the case here. From left to right the controls are as follows. Sensitivity, on/off/volume, band switch, tuning, and tone control. This radio is a real powerhouse. Although it is four years older than my Zeniths, it far surpasses their performance. Atwater Kent is notorious for their component quality and circuit design.
|

1937 RCA Victor 15K. 15 tubes. 6L6 PP output. Features the signature RCA "Magic Brain" RF sub chassis and enclosed speaker compartment with five acoustic pipes, similar to an organ. I won this RCA at the the Kutztown DVHRC auction in May 2013. It was rapidly bid up to $85 and that's the price I paid. My first auction experience was a success, and I had a great time. Unfortunately, this radio will need to be refinished. It's also in need of a replacement grill cloth, however the RCA "wheat" pattern has yet to be produced. In the meantime I will have to live with what's there! This radio is a monster. 15 tubes and weighs over 125 lbs. With a high tube count chassis and RCA circuit quality, it will be one of the best performers in my collection when properly restored.
|

Here is an original RCA Victor advertisement from 1937. At this time, the Radio Corporation of America was one of the top leaders in radio technology and quality.
|
